 PAFworks
 Create your website with PAFworks and Claude
Claude writes the pages of your site straight into a folder of your PAFworks files. PAFworks publishes that folder on your own domain, with HTTPS. To change a page, you ask Claude: the site is updated within a minute.
How it works. A website is an ordinary folder of HTML, CSS and image files. Claude reaches your files through the PAFworks connector (an MCP server), which lets it create folders and write files. The Web sites page of the administration then serves that folder on the domain you choose.
Before you start
- A Claude account that can add custom connectors on claude.ai, or Claude Code.
- A domain name, such as
www.example.com, and access to its DNS settings at your registrar or DNS provider. - An administrator account in PAFworks to publish the site. You can prepare the files with any account and ask an administrator to publish them.
Step 1 — Create an app password for Claude
Claude signs in to PAFworks with an app password of its own, which you can revoke at any time without touching your account.
Click your avatar at the bottom of the left bar, then Devices and sync.
-
In App passwords, type a name such as
Claudeand click Create. The password is shown only once.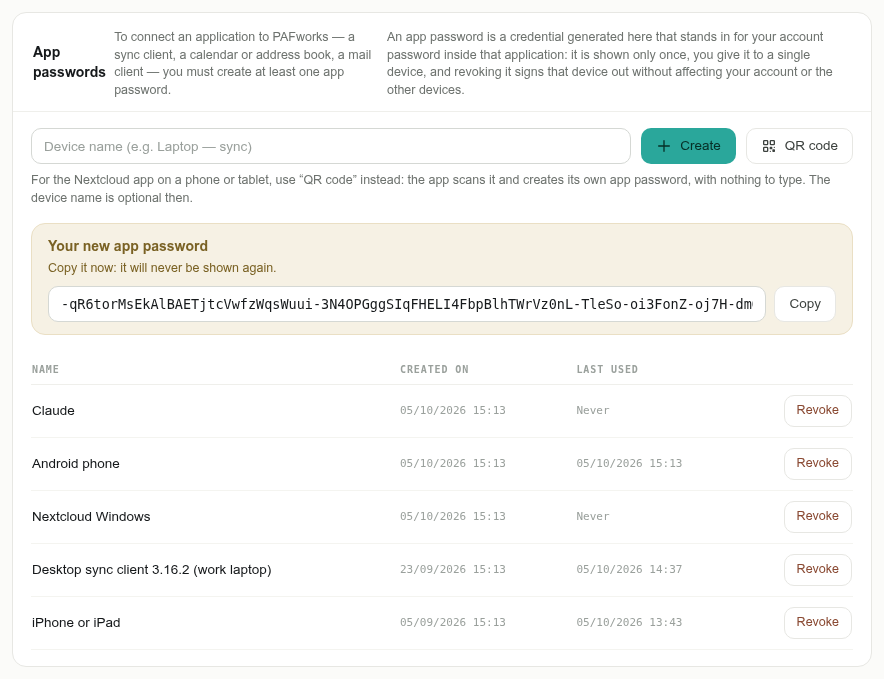
This password carries all your rights. Claude can read and change everything your account can reach. Give it to Claude only, and revoke it from the same list when you no longer need it.
Step 2 — Connect Claude to PAFworks
Lower on the same page, the AI assistant (MCP) panel gives everything Claude needs. The app password you have just created is already filled in.
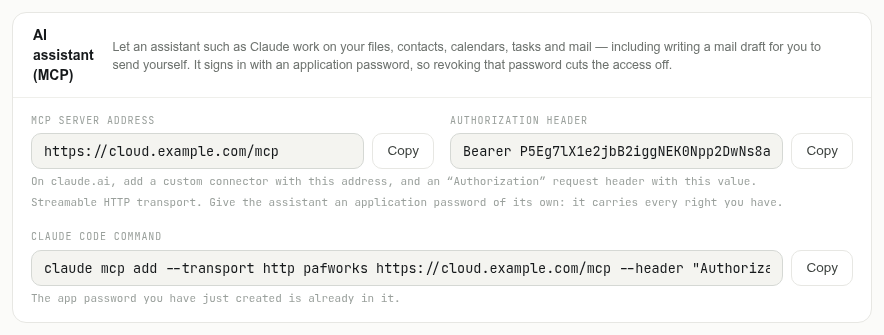
On claude.ai
In Claude, open Settings › Connectors and choose to add a custom connector.
Name it
PAFworksand paste the MCP server address of the panel — for examplehttps://cloud.example.com/mcp— as the server URL.-
Add a request header named
Authorization, with the value of the Authorization header field, next to the address:Bearerfollowed by your app password. Save the connector.
In a new conversation, make sure the PAFworks connector is enabled in the tools menu.
No request headers on your claude.ai account? This option is recent and not available on every account yet. Use Claude Code instead, below.
With Claude Code
Copy the Claude Code command of the panel and run it in a terminal. It looks like this:
claude mcp add --transport http pafworks https://cloud.example.com/mcp --header "Authorization: Bearer YOUR_APP_PASSWORD"
Claude Code can also send pictures and other binary files to PAFworks by itself.
Step 3 — Ask Claude to build the site
Describe the site you want and tell Claude which PAFworks folder to write it into. For example:
“Create a website for my interior design studio, Acme Studio, in the PAFworks folder Website: a home page index.html, an About page about.html and a 404.html page, with one stylesheet css/style.css. Use relative links. The hero picture is img/studio.jpg.”
- The home page must be called
index.html. A page missing on your site shows404.htmlwhen there is one. - Pictures: on claude.ai, Claude writes text files (HTML, CSS, SVG). Add your photos yourself: open the folder in PAFworks and drag them in, or click Upload.
- Use a dedicated folder: everything in it will be public.
Step 4 — Check the files in PAFworks
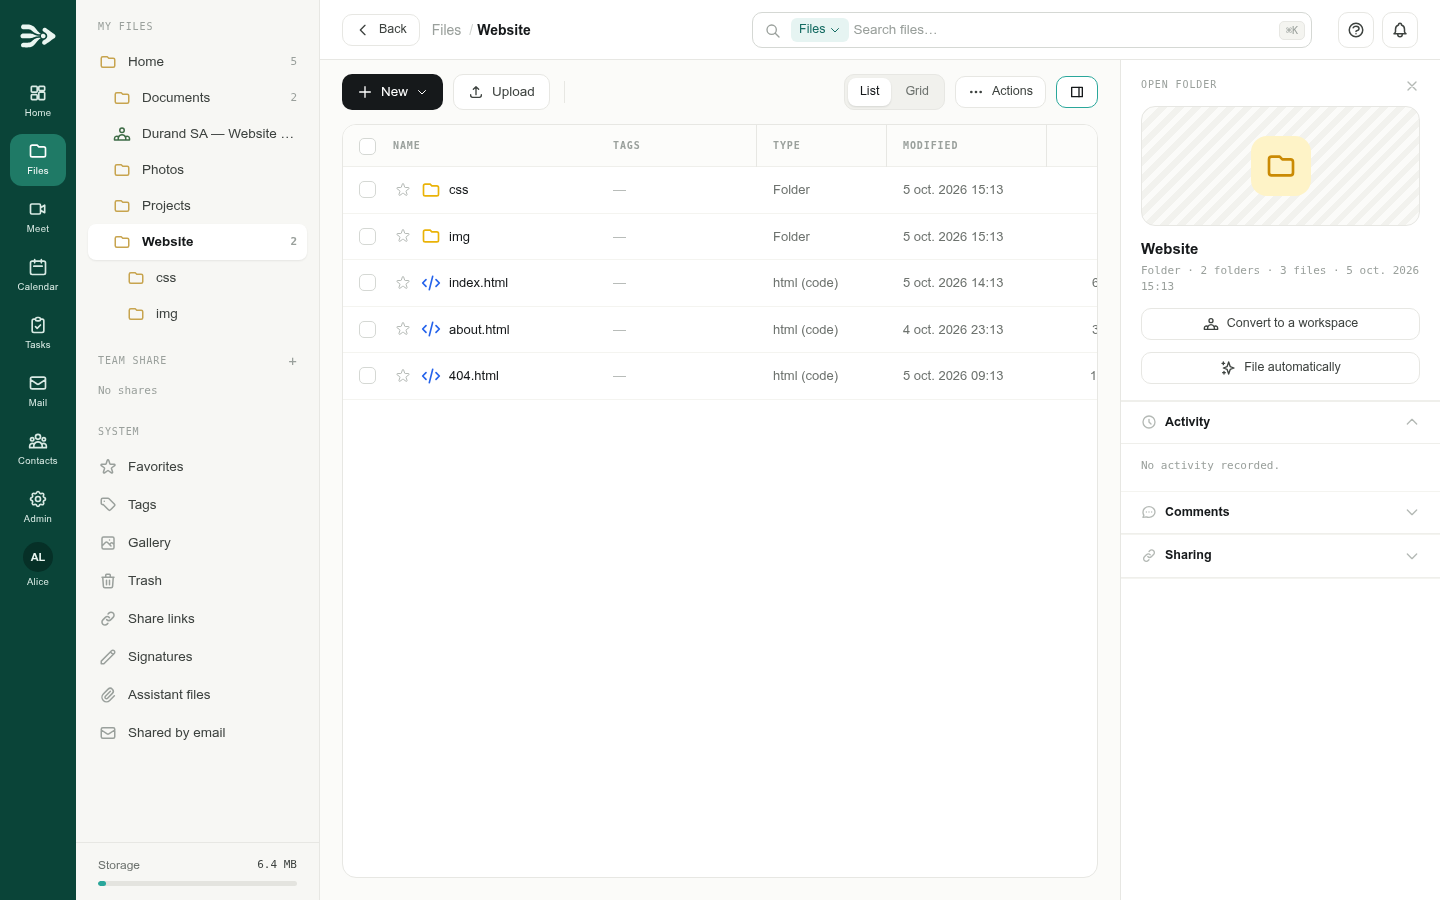
Open Files and the folder of the site: Claude's pages are there, like any other file. Open an .html file to preview it; the preview is simplified (no scripts, no remote fonts), the published site shows everything.
Step 5 — Publish the folder
This step needs an administrator account.
-
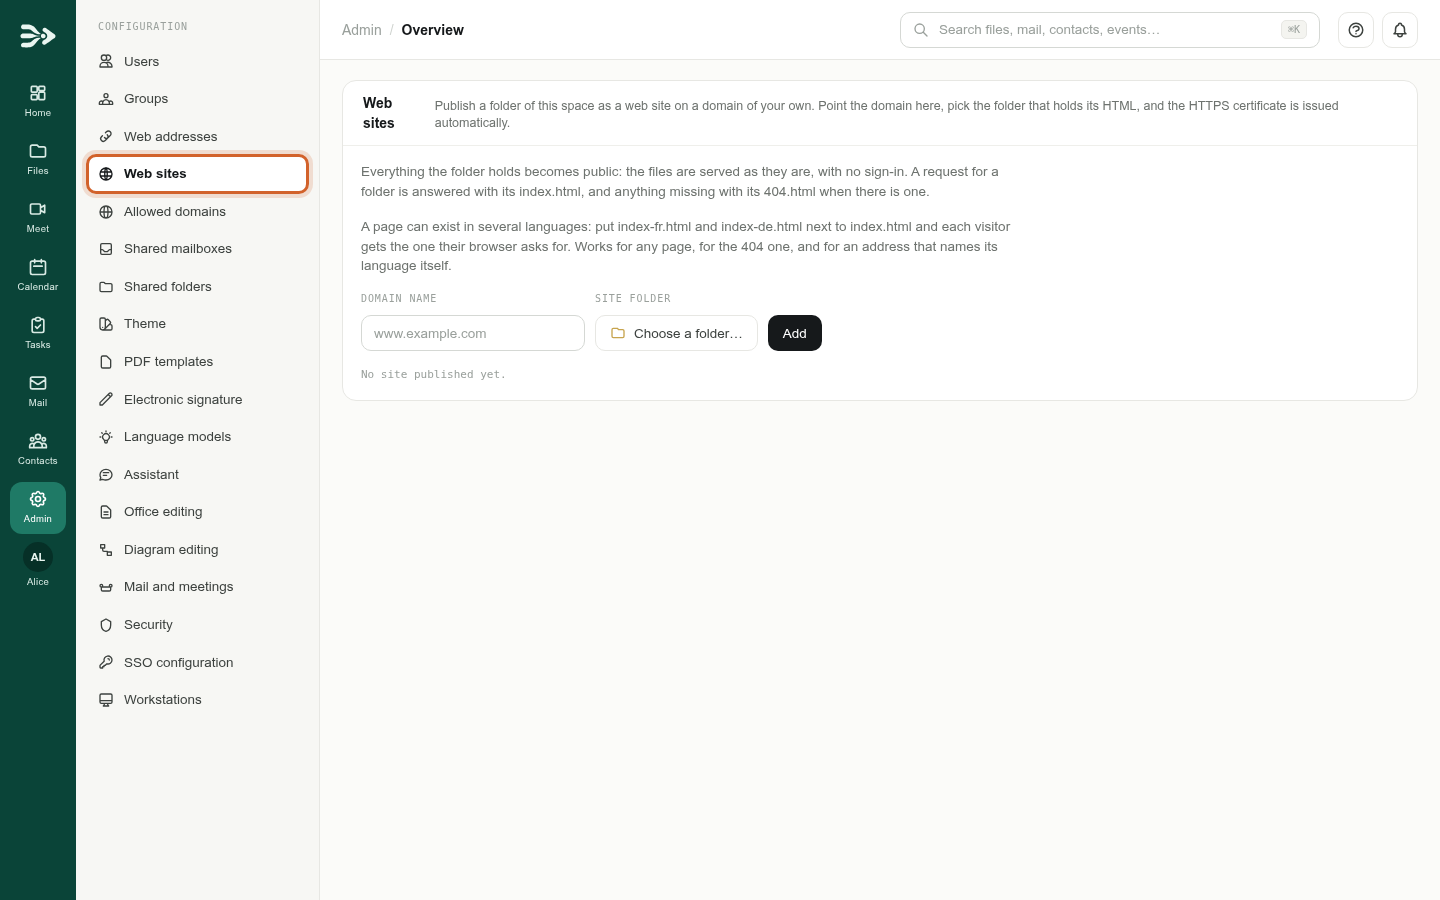
Click Admin in the left bar, then Web sites in the Configuration list.
-
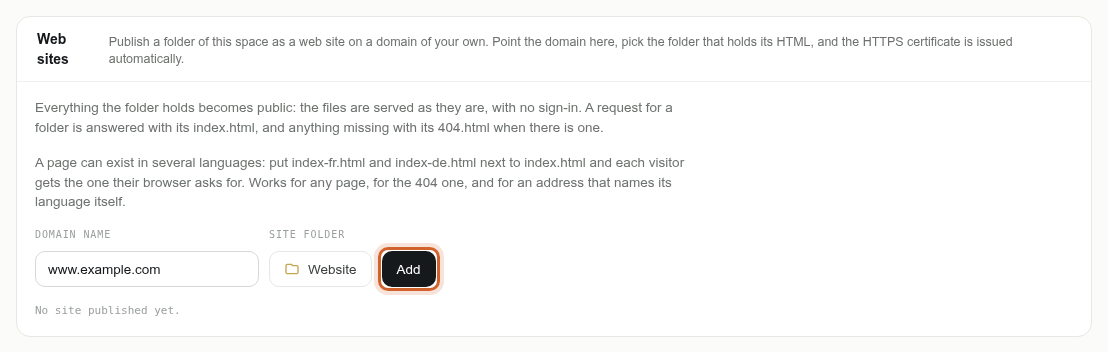
Type your domain in Domain name, for example
www.example.com. Click Choose a folder…, open the folder of the site and click Use this folder.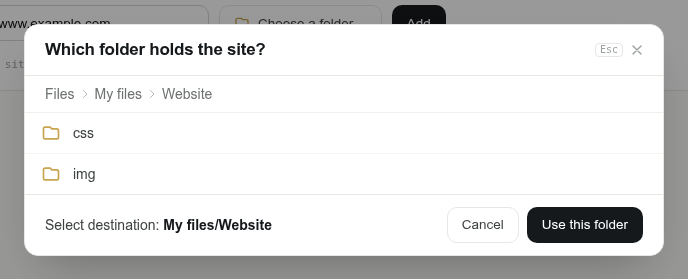
-
Click Add.
Step 6 — Point your domain to PAFworks
-
The new site shows Waiting for DNS and the record to create, for example a
CNAMEfromwww.example.comto the name shown. Create exactly this record at your DNS provider. For a domain withoutwww(such asexample.com), the panel showsAandAAAArecords instead.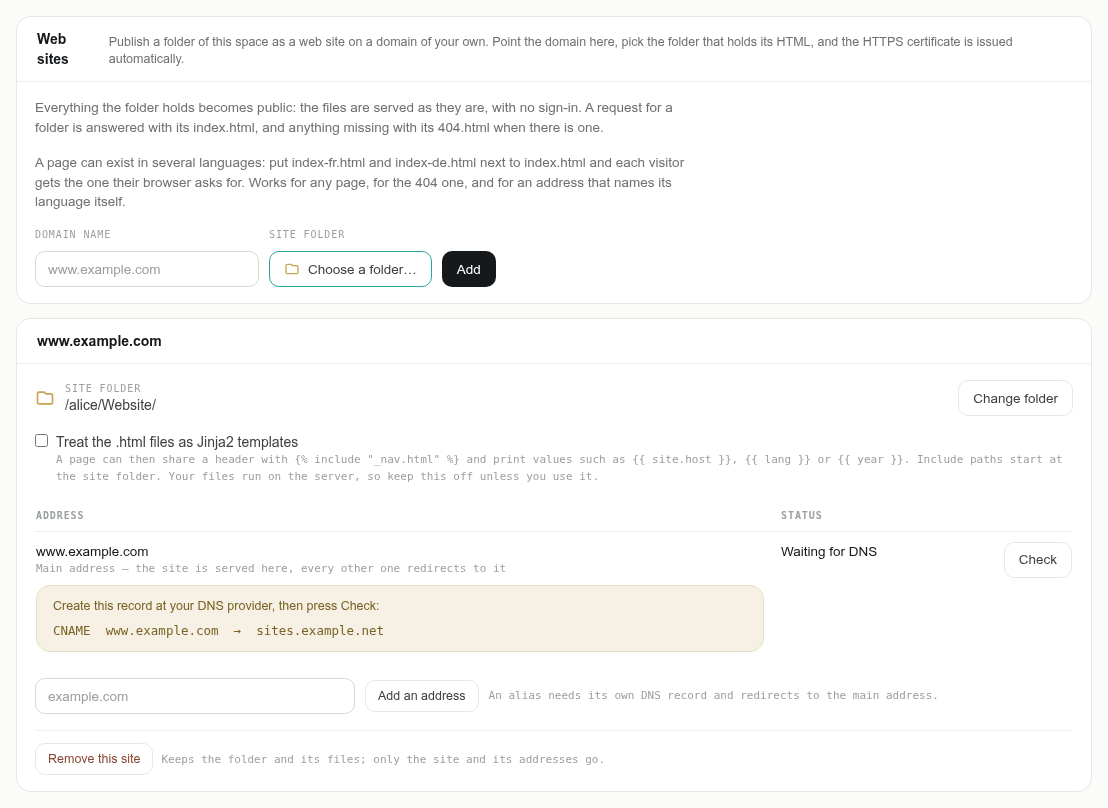
-
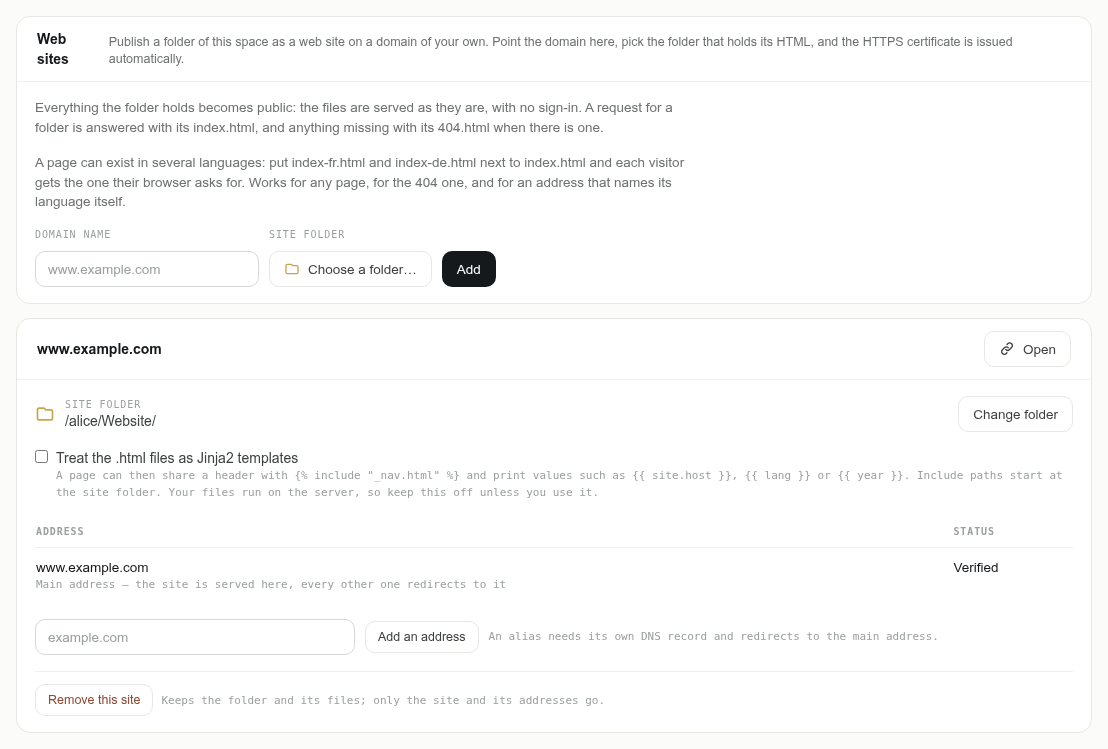
Click Check. DNS changes can take a while to spread; PAFworks also checks again by itself every few minutes. Once the record is found, the status is Verified and the HTTPS certificate is issued automatically.
-
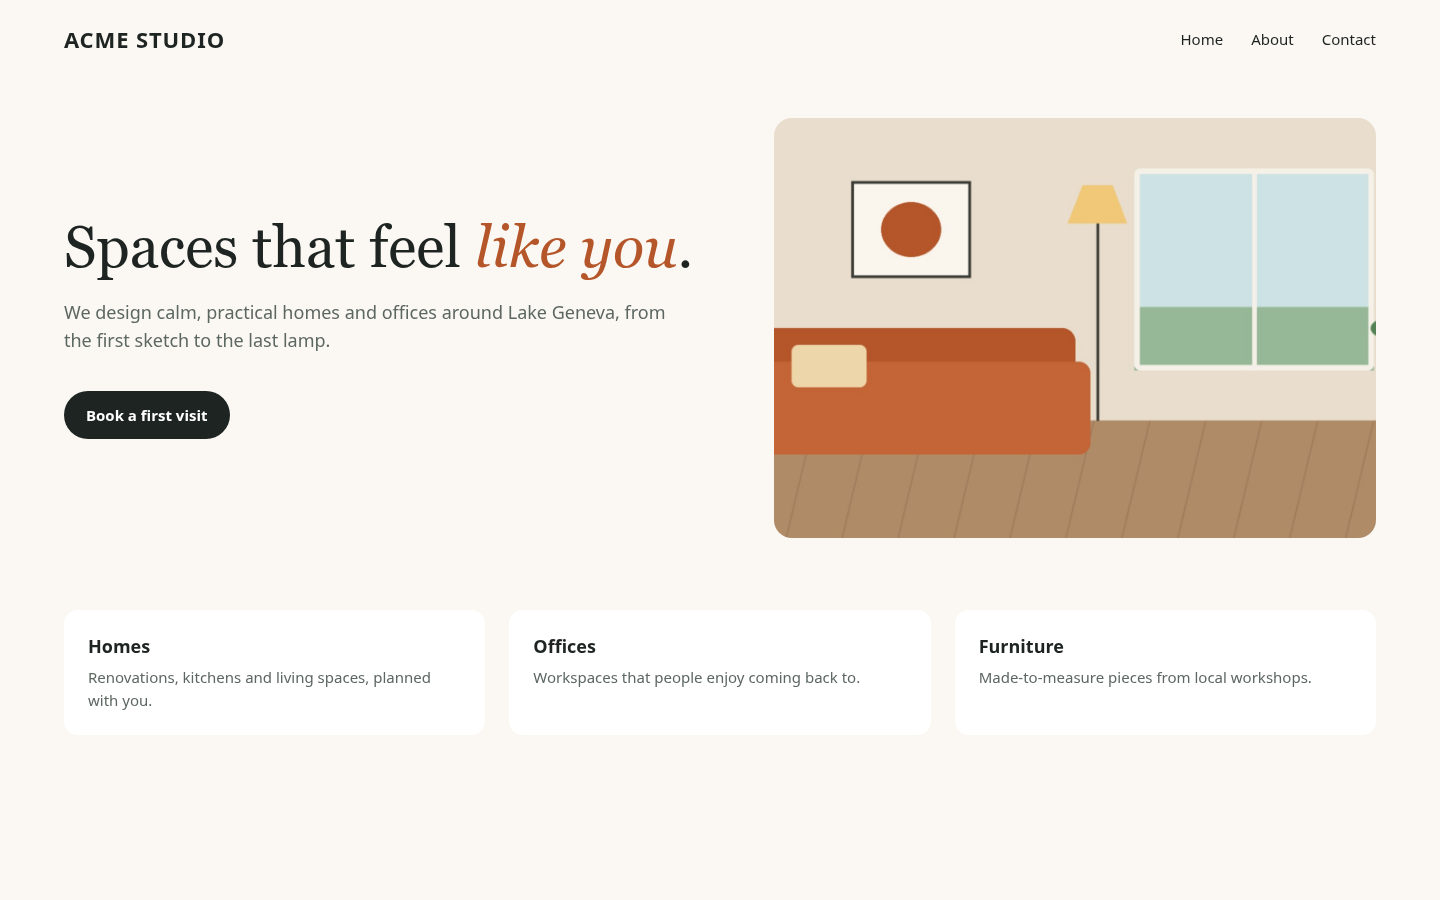
Click Open: your site is online.
Both www.example.com and example.com? Add the second one with Add an address. It needs its own DNS record, and redirects to the main address.
Using a proxy or CDN in front of your domain? The record must point straight to PAFworks: a proxied record (such as Cloudflare's orange cloud) cannot be verified.
Update your site
- Ask Claude: “On the home page of the
Websitefolder, replace the opening hours by…”. Claude edits the file in place; the site shows the change within about a minute. - Every change keeps the previous version of the file, which you can restore from the details panel in Files.
- For a complete redesign, have Claude build the new version in another folder, check it, then click Change folder on the site to switch in one go.
Good to know
- Addresses without
.html./aboutservesabout.html, and a folder address serves itsindex.html. - Several languages. Put
index-fr.htmlorabout-de.htmlnext to the English page: each visitor gets the language of their browser, and/fr/aboutforces French. - Shared header and footer. Tick Treat the .html files as Jinja2 templates on the site to share pieces between pages with
{% include "_nav.html" %}. Leave it off if you do not need it. - Static sites only. PAFworks serves files; it runs no code for your visitors. For a contact form, create a form in PAFworks and link to it from your site.
- Remove a site with Remove this site: the folder and its files stay in PAFworks.