 PAFworks
 Connect the Nextcloud client on Windows
The Nextcloud desktop client keeps your PAFworks files in a folder of your Windows computer. It signs in through your browser: you never type your password into the client.
Before you start
- Windows 10 or 11, with the right to install software (or ask your IT team).
- Your PAFworks address, for example
https://cloud.example.com. - Your PAFworks username or e-mail address, and your password.
Tip. Open the sync guide of PAFworks at the same time (Help › Sync your files): it gives you the exact server address to copy and confirms when the client is connected. See Sync your files.
Step 1 — Download the client
Go to nextcloud.com/install and download the desktop client for Windows. The sync guide of PAFworks links to the same page with its Download the client button.
Step 2 — Install it
Run the downloaded installer (Nextcloud-…-x64.msi) and follow the wizard with its default options. Restart Windows if the installer asks you to. Then start Nextcloud from the Start menu.
Step 3 — Log in and enter your PAFworks address
-
On the welcome screen of the client, click Log in.
-
Type your PAFworks address in the server address field — only the address, with nothing after it, for example
https://cloud.example.com— then click Next.
Step 4 — Authorize the device in your browser
The client opens your browser on the PAFworks page Authorize a device, and waits.
-
If you are not signed in to PAFworks in this browser, enter your Username or email and your Password.
The Device name is filled in for you, for example “Desktop sync client 3.16.2”. You can change it: it is how this computer will appear in your list of devices.
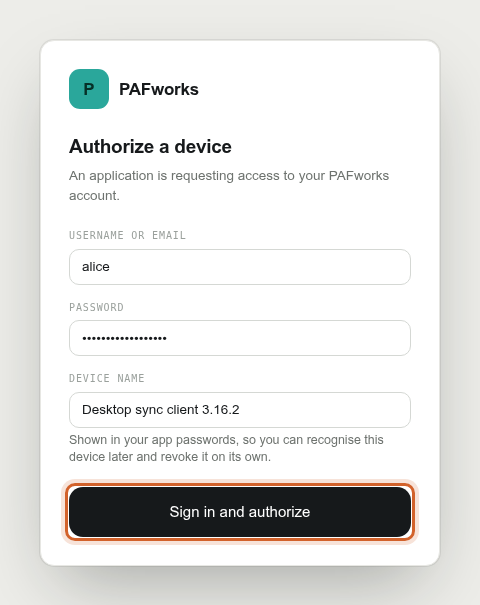
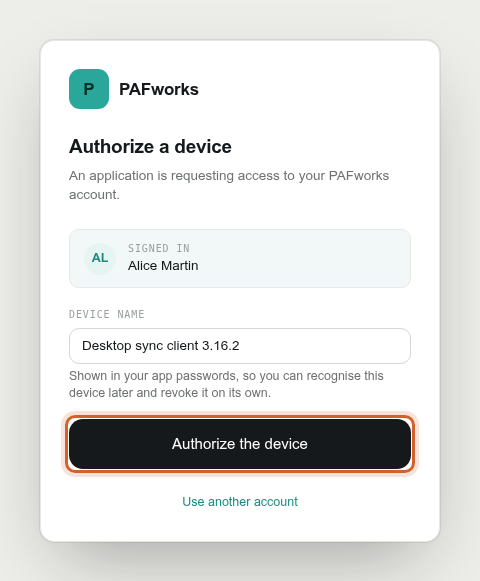
Click Sign in and authorize. If you are already signed in, the page shows your name instead and a single button, Authorize the device.
-
With two-factor authentication, type the 6-digit code of your authenticator app. With single sign-on, click Sign in with … and sign in with your organisation account.
-
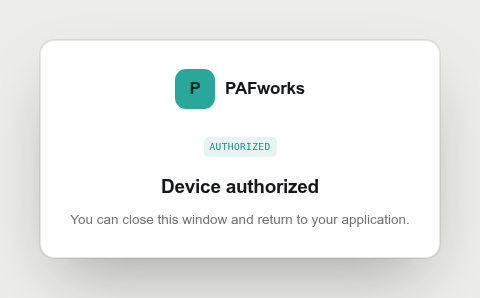
The page says Device authorized. You can close the browser tab and go back to the client.
Step 5 — Choose the local folder and what to sync
Back in the client, check the options, then click Connect:
- Local folder: where your files go, by default
C:\Users\<you>\Nextcloud. - Virtual files: every file shows in Explorer but is downloaded only when you open it. Recommended if you have many files or a small disk.
- Synchronize everything, or choose which folders to keep on this computer.
Step 6 — Your files in File Explorer
Your PAFworks files now appear under Nextcloud in the left pane of File Explorer. The icon next to each file tells its state: synced, syncing, or available online only.
- With virtual files, right-click a file or folder and choose Always keep on this device to keep it offline, or Free up space to keep it online only.
- Your team shares are in the Shared folder (Partagés when the client is in French).
- The Nextcloud icon in the notification area of the taskbar shows the sync status, recent changes, and gives access to the settings and to Pause sync.
Check in PAFworks
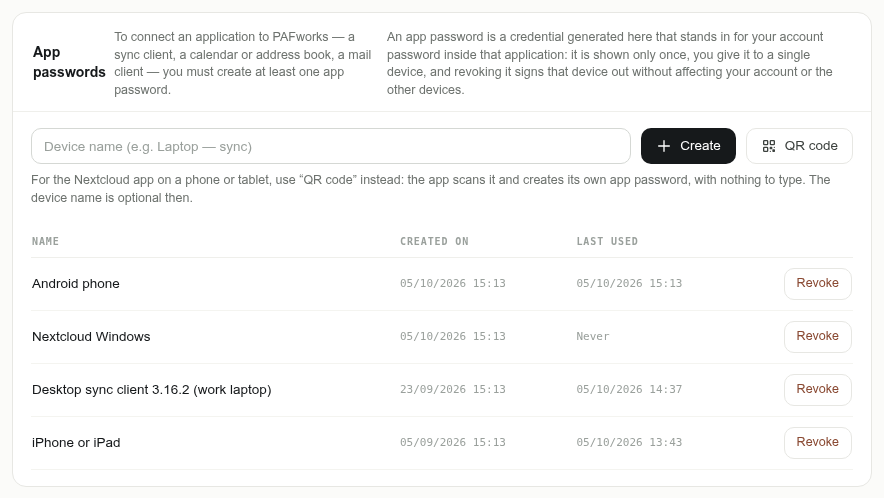
In PAFworks, click your avatar at the bottom of the left bar, then Devices and sync. Your computer is listed under App passwords with the device name you chose. If you lose this computer, click Revoke to cut its access.
Troubleshooting
- The browser did not open. Use the button of the client that opens the browser again or copies the link, and paste the link into your browser.
- “Invalid link”. The authorization link is valid for a few minutes only and works once. Start again from Log in in the client.
- The client says the server address is wrong. Type only your PAFworks address, starting with
https://, without any path such as/browseor/remote.php. - “Too many failed attempts”. After several wrong passwords, PAFworks blocks new attempts for about 15 minutes. Wait, then try again.
- The client asks for a password. Create an app password in the sync guide (step 2, The browser does not open, or the app asks for a password?) and type it instead of your own password.